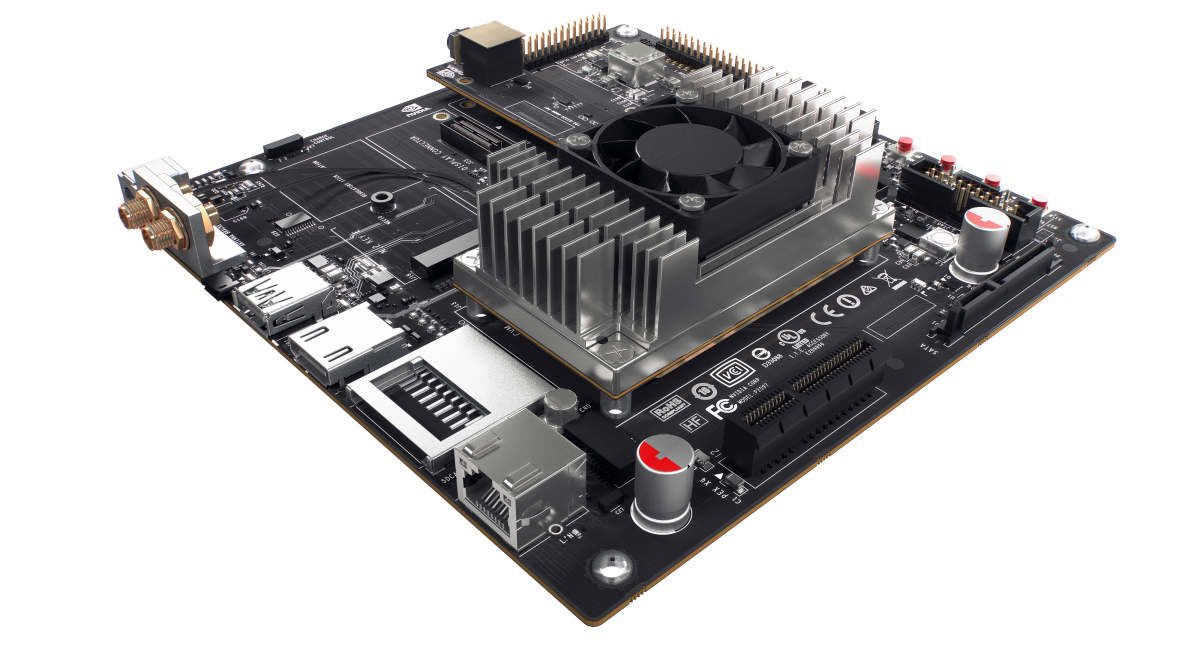
Jetson at Home
I have a couple of CUDA-capable devices though my house (go NVIDIA!) but they mostly are running Windows (because Microsoft Office and Video games) or have wimpy laptop GPUs. I had a homework assignment dictating I wrote a CUDA program and the system we had access to was slammed with users, which led to me stressing over how to get the work done. Was I going to have to download CUDA on a Windows machine and deal with development on Windows?
Flashing the Jetpack
You can follow Huy Le’s tutorial over at Sloth Paradise on how to install the Jetpack on the Jetson. The CUDA version in the l4t folder is 8.0 on the latest Jetpack release, but the post is otherwise spot-on. Huy and I were part of a supercomputing team out of Boston, he knows his stuff.
Linux Modules
Checkout my jetson-lmod repo
which sets up the lmod (lua-modules) package, allowing users to load and
unload ‘environment modules’. These modules set environment variables when
loaded to add software to the current environment, and unset those variables
when unloaded to remove that software from the environment. It’s a bit like
adding environment variables to the tail end of a bashrc file, but infinitely
more powerful and flexible.
That repo includes a sample module that can be loaded and unloaded to add and remove the CUDA installation to/from the path. For some healthy reading on how to write modules, here’s the documentation.
Accessing the GPU
If you add a user, you’ll be troubled to find that any attempt to run CUDA by
them is met with a friendly “No device found” error. This was due to the user
not being a member of the video group, which controls access to the graphics
devices.
To fix this, simply sudo usermod <username> -a -G video and relogin to the
system, but we’ll still need to perform this fix whenever a new user is added.
Given this is a dev-board that only trusted people can access, we can instead
configure adduser to provide new users access to all the hardware in
the system. To do this, open /etc/adduser.conf and uncomment/set the below
values. You could also add sudo to that list of default groups, but
that’s playing with fire.
EXTRA_GROUPS="dialout cdrom floppy audio video plugdev users"
ADD_EXTRA_GROUPS=1
Setup the Login Node
As discussed by Huy, to flash the Jetpack onto the TX1, you’ll need a Ubuntu 14.04 host machine. Rather than a VM, I just loaded 14.04 onto an old laptop to use as an access node for my home LAN. I forwarded TCP port 22 (the ssh port) from my router to that laptop, from which I could access the TX1 freely. You could directly forward the port to the Jetson, but I didn’t want to have a specialized device be the gateway to my LAN.
You’ll need to ensure openssh-server, or another ssh server application is
installed on the login node (it’ll be installed by Jetpack on the jetson). On
Ubuntu this is as simple as:
sudo apt install openssh-server
Affectionately named 'craptop' to distinguish it in my home DNS from the laptop I regularly use.
This information is Verizon-FIOS router model G1100 specific, if you have a different router you’ll need to do some research.
First, we’ll have to pin down the IP address assigned to the login-node in the DHCP server running on the router. Without doing this, a device could be reassigned a different address and no longer be properly forwarded ports.

Head to myfiosgateway.com, and login with the credentials on the side of your router. Click into Advanced, IP Address Distribution, Connection list to see the current DHCP leases.
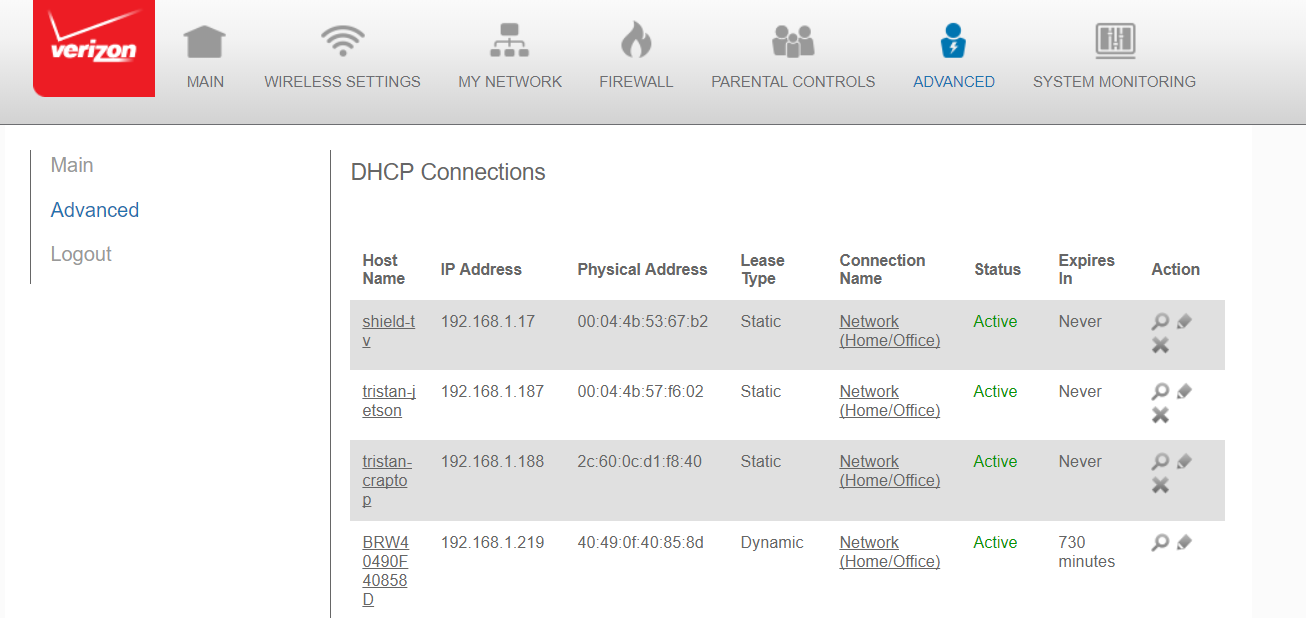
Find your device, and click the pencil icon to edit it’s lease. Find the checkbox labeled “Static Lease Type” and check it, which will pin that IP address in the local range to that MAC address. This permanently assigns that IP address to the device currently connected to it.
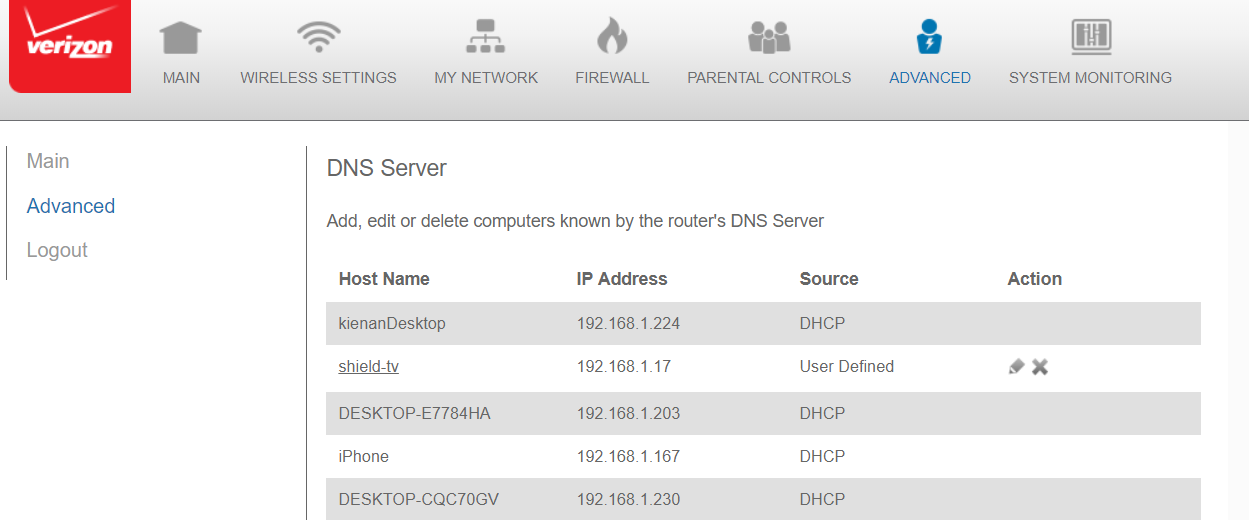
If when browsing for the device in the DHCP connections list you found that it had a name different from what you wanted it to be assigned in the DNS server, head back to the advanced tab, click into DNS Server, and click the pencil icon next to the name you want to change (you’ll notice a record must be statically assigned to modify it’s name). From there, simply enter a new hostname and click apply.
Click back to the main menu, then into port forwarding under quick links.
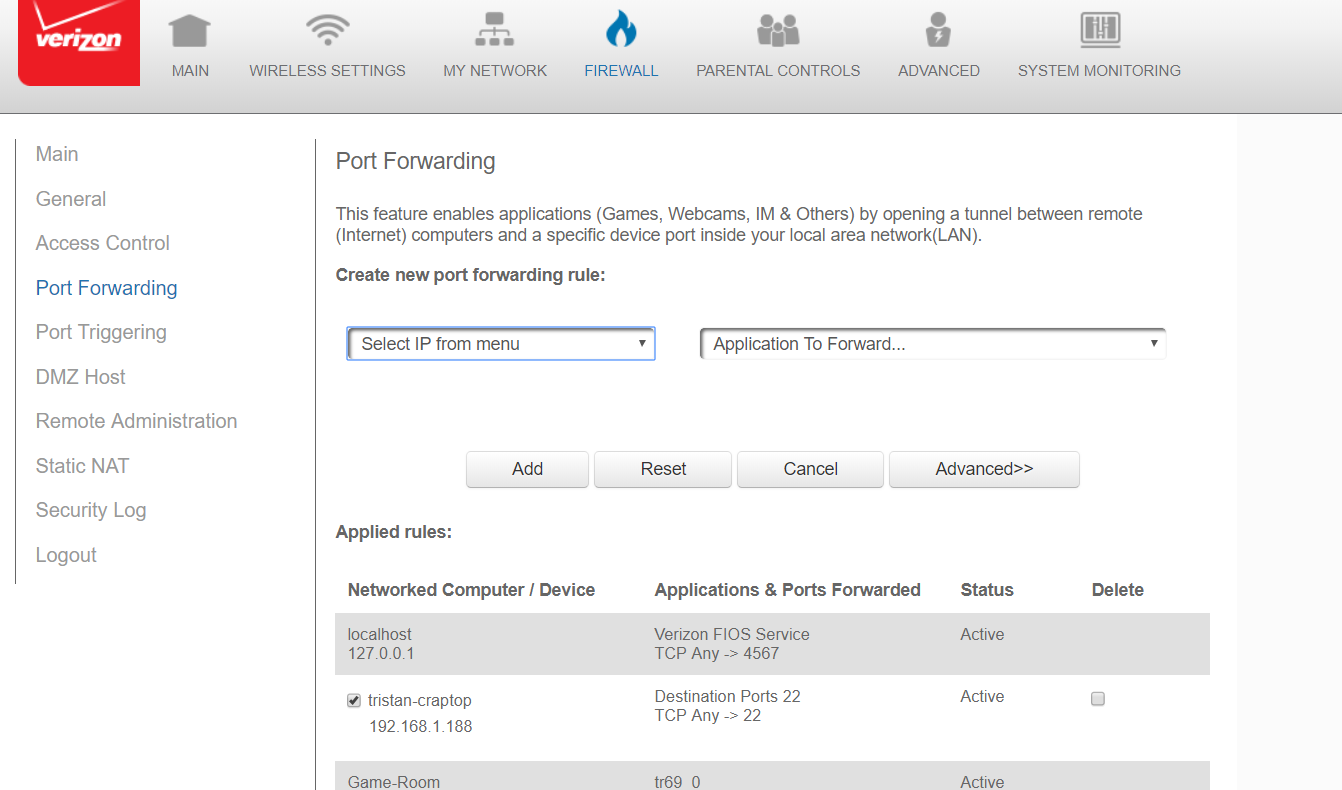
Select the login node from the ‘Select IP from menu’ dropdown and ‘Custom Ports’ from the ‘Application to forward’ menu. In the new context that appears, select TCP port 22, and hit add.
Testing the Connection
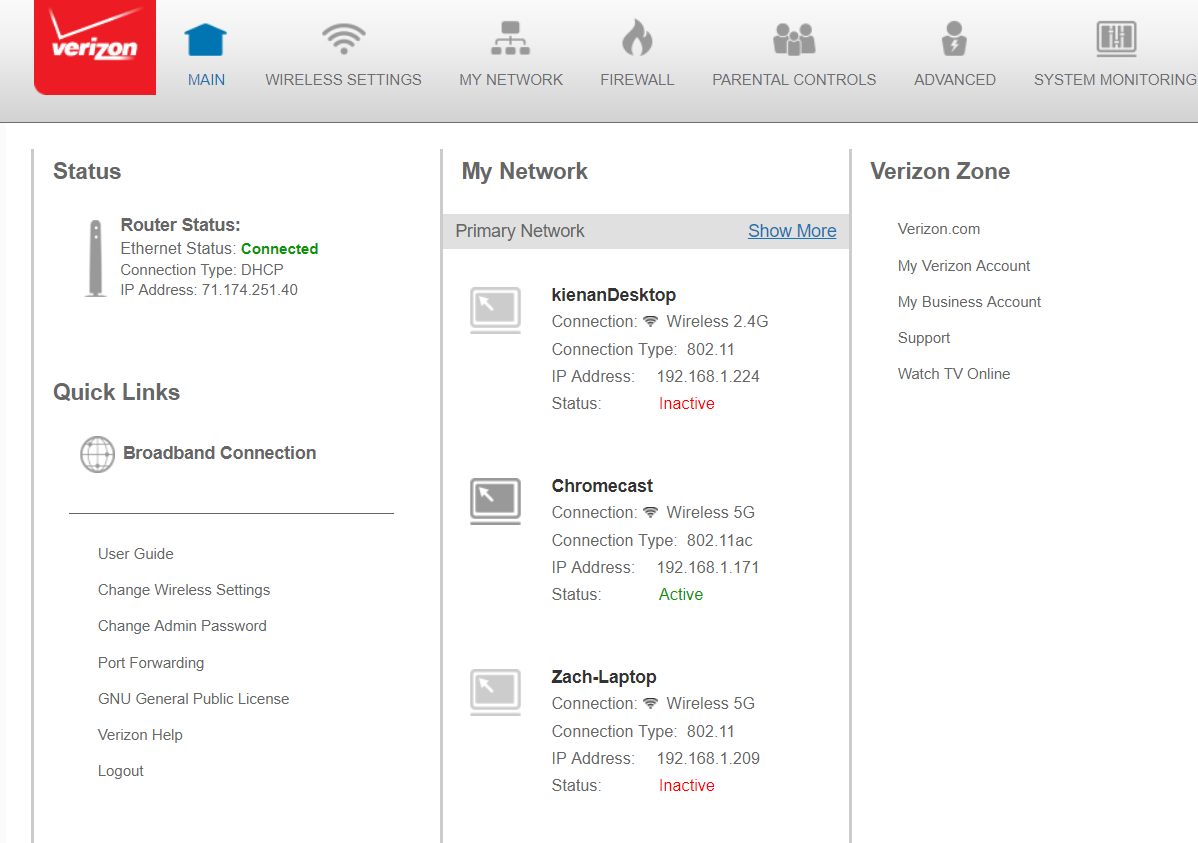
Find your public IP address (The address of the router in the global internet)
on the main page of the router’s screen or by other means, and attempt to SSH
into it. If your connection was forwarded, huzzah! Otherwise… not huzzah?
Check if the login node and Jetson properly have openssh-server installed by
locally attempting to ssh into the machines, and check your port forwarding. If
things look good and it’s still not working, ensure you set a static IP for the
login-node.
To improve your quality of life, you can create an A Name Record with a DNS provider for your router if you pay to lease a domain name. I created a subdomain within one I own to save on dough, but the world is your oyster. It’s unlikely your router’s IP will change, but if it does, you can use a dynamic DNS service to update your DNS records on-the-fly as your provider changes your public IP.